Patient recruitment is one of the hardest marketing problems in healthcare. Most clinical trials miss their enrollment timelines, and a meaningful share of them are delayed or terminated specifically because they cannot find enough participants. The patients who would qualify often never hear about the trial, and the patients who do hear about one often never make it through the eligibility screening.
This is exactly the kind of repetitive, qualification-heavy workflow that chatbots handle well. Over the past year, we have seen a handful of chatbot agencies build dedicated trial-matching bots for biotech sponsors and patient-recruitment agencies. The use case is worth a closer look if you build bots for healthcare clients, because the budgets are real and the alternatives the industry currently uses are genuinely worse than what a well-built bot can do.
Why clinical trials need a chatbot layer
The patient journey for a clinical trial usually looks like this. A patient sees an ad or hears about a study. They click through to a landing page. They read about the trial. They fill out a long screening form, often 20 to 40 questions. A coordinator from the research site calls them back, sometimes days later. By the time the call comes, a meaningful share of those leads have lost interest or moved on.
Chatbots cut several steps out of that funnel. The screening conversation happens immediately, in the same interface where the patient first showed interest. Eligibility filters apply in real time, so a patient who clearly does not match never wastes the coordinator’s time and never feels jerked around. And because the bot can answer basic questions about compensation, time commitment, and what happens during the study, more patients reach the actual scheduling step. Patient-facing directories like Hipa.ai maintain searchable listings of paid clinical trials currently recruiting across the US, with filters for state, condition, and study compensation. A bot integrated with that kind of directory can pull live trial data into the conversation rather than maintaining its own static list.
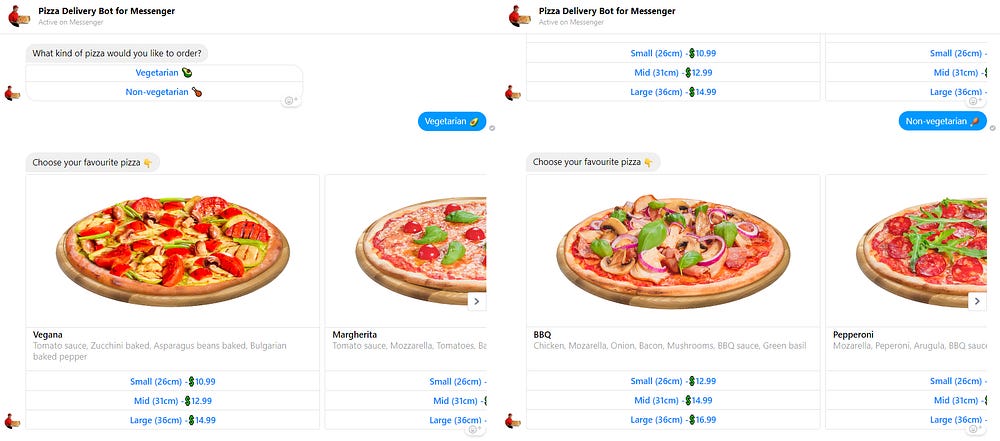
What the bot conversation looks like
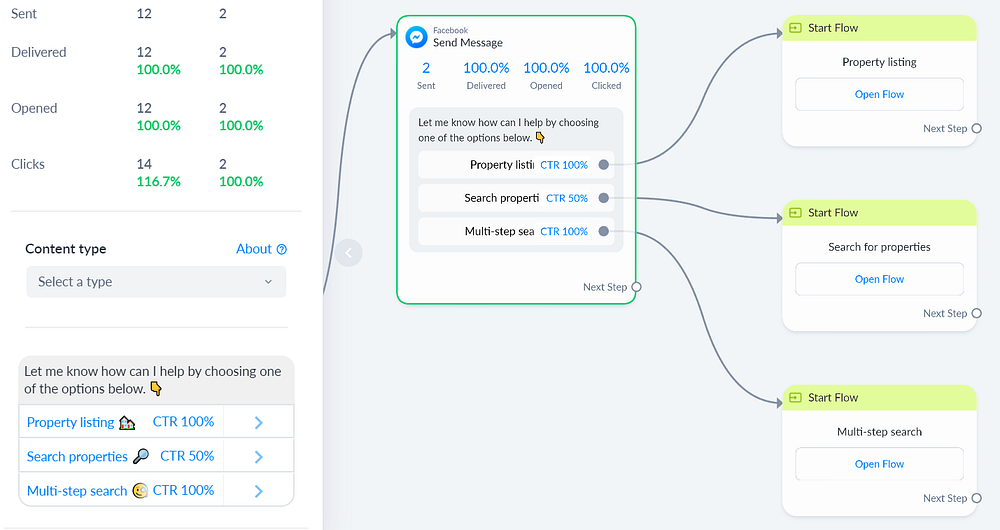
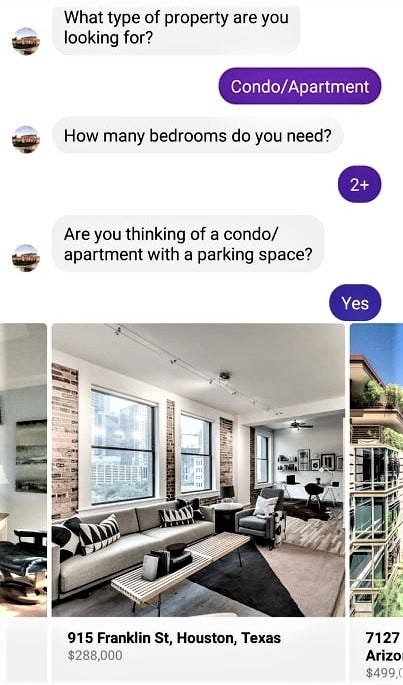
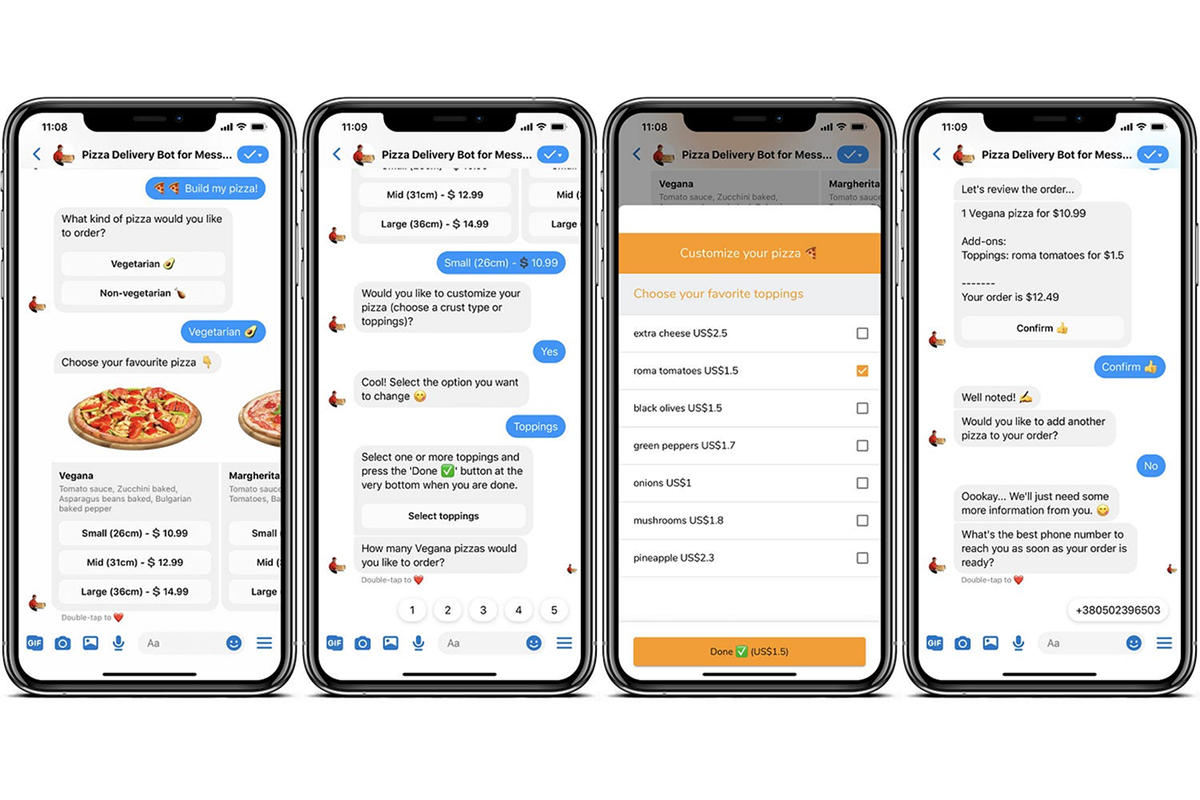
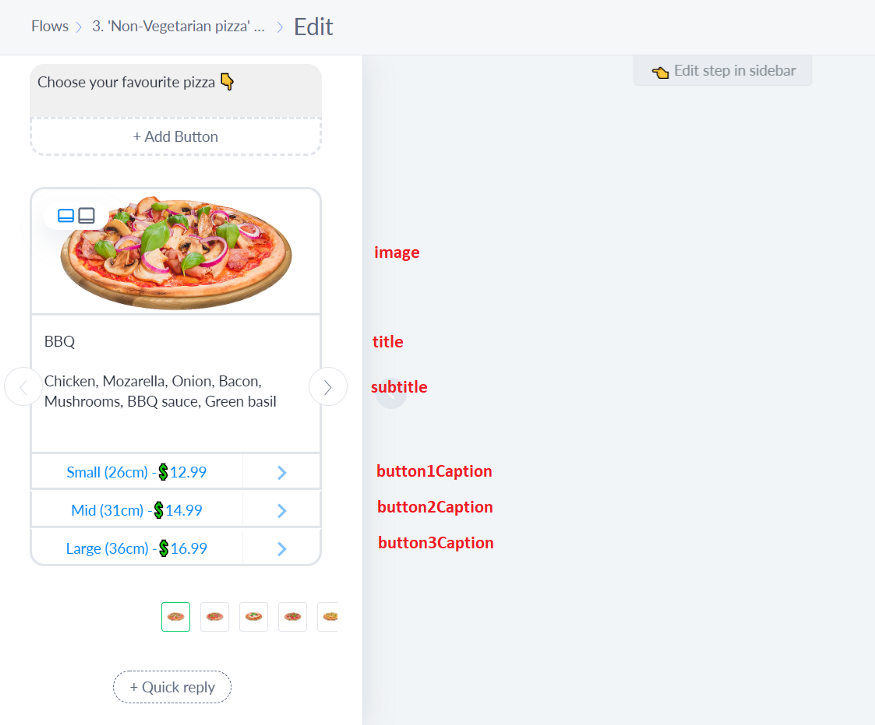
A typical first-visit flow runs something like this. The bot asks the patient what they are looking for: a specific condition, a specific city, or a study they read about. It asks for basic eligibility information such as age range, location, whether they have a particular diagnosis, and whether they take certain medications. It returns three or four matching trials and offers to forward the patient’s contact details to the recruitment coordinator at the most relevant site.
The trick is keeping the conversation short. Patients with a serious condition do not want to fill out a 30-question form before seeing whether any trials match them at all. The right pattern is to ask three or four broad questions, return matches, and only ask the longer screening questions for the specific trial the patient picks.
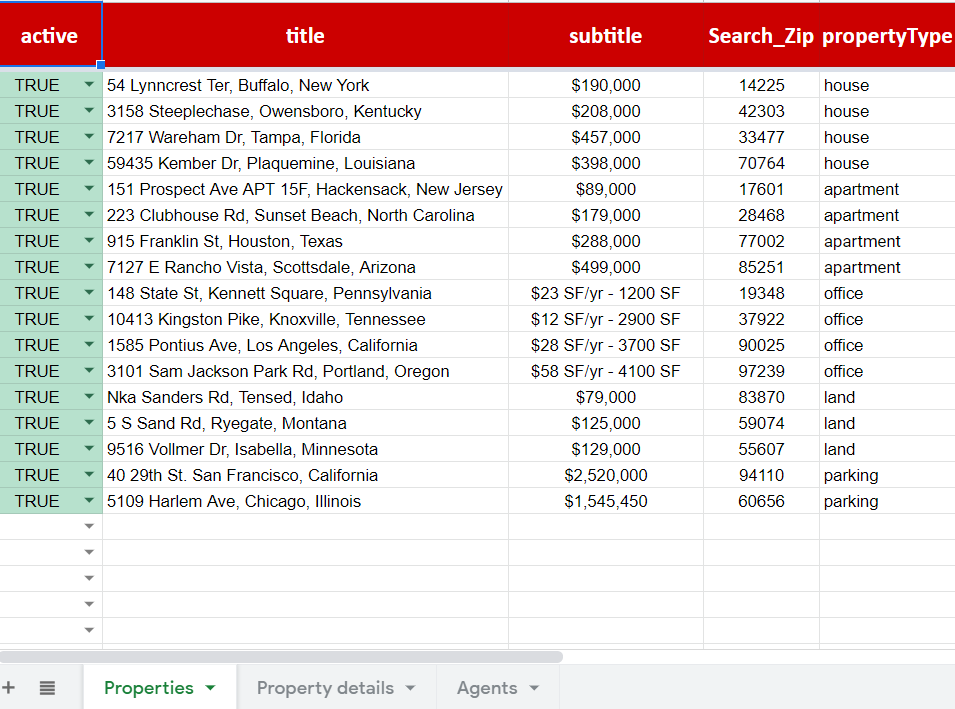
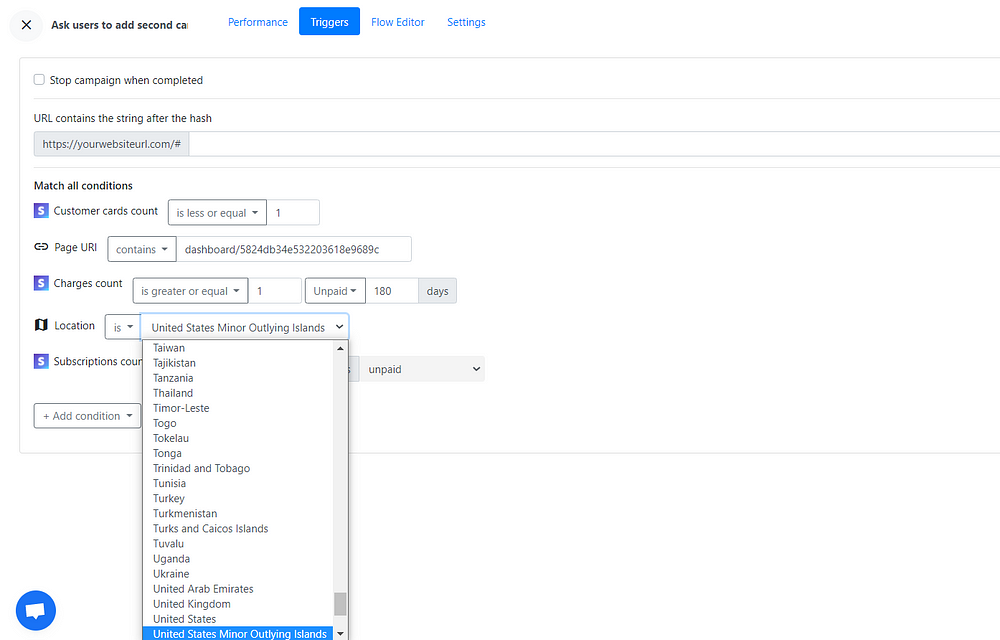
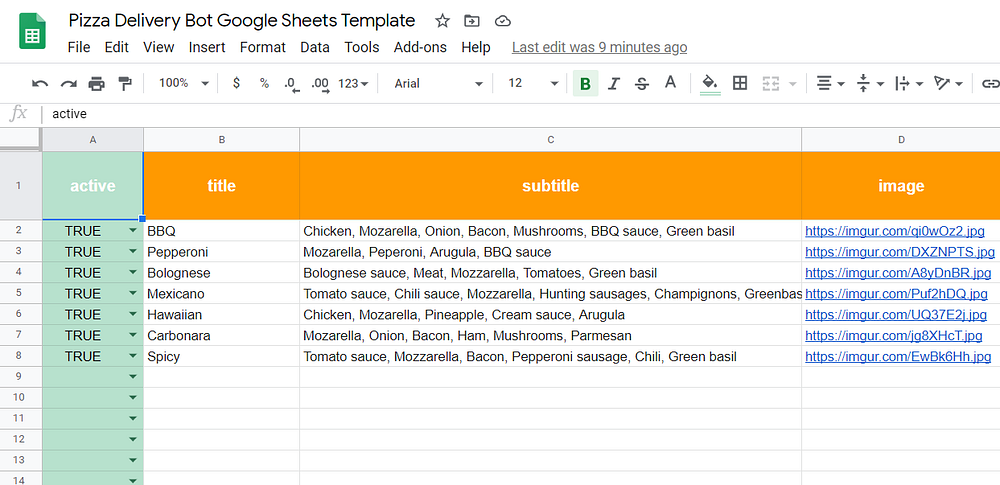
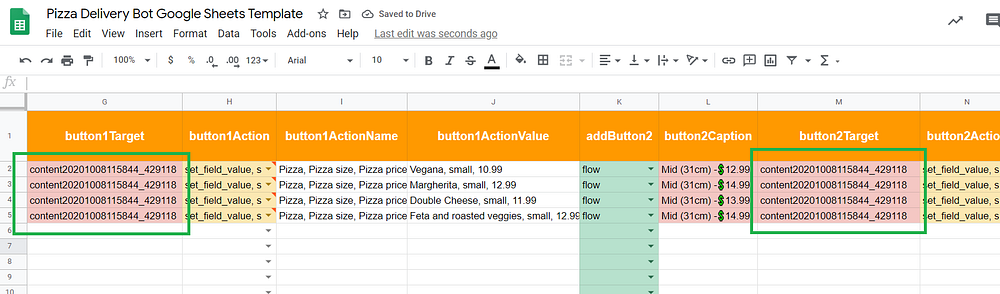
Two practical notes for builders. First, trial eligibility data lives in structured fields on clinicaltrials.gov, but the wording in those fields is written for medical reviewers, not patients. Some translation layer is needed, either a manual rewrite per trial or an LLM step that turns “BMI greater than 30” into “are you significantly overweight?”. Second, compensation amounts are not always public, but they often are, and they drive engagement hard. Patients are more likely to complete a flow that mentions compensation upfront than one that hides it.
Where this fits in your agency’s pipeline
If you build bots for healthcare clients, clinical trial recruitment is a sponsor-funded use case rather than a clinic-funded one. The buyers are pharmaceutical sponsors, contract research organizations, and dedicated patient recruitment agencies. The deal sizes are larger than typical small-clinic chatbot work, and the budgets are meaningful. Sponsors lose money every day a trial fails to fill, and a bot that shortens that timeline by even a few weeks pays for itself many times over.
Selling into this market takes some patience. Procurement cycles are long, and most sponsors have not yet thought of chatbots as a recruitment channel. But the pitch is straightforward once you have a working demo: faster screening, lower cost per enrolled patient, and better data on why qualified patients drop off.
Two ways to start. Build a generic “find a clinical trial” bot tied to a public directory and use it as a portfolio piece when pitching sponsor work. Or pick one common condition (diabetes, depression, and weight loss are evergreen) and build a specialized bot for that condition, then pitch it directly to the dozen or so sponsors running trials in that space. Whichever vertical you target, study its market before you build; knowing where demand, supply, and budgets concentrate is what makes a specialized pitch land. Behavioral health is a useful illustration: a workforce-intelligence source like ABA Institute tracks live salary benchmarks, employer hiring activity, and weekly provider-supply data across the US, the kind of market picture that tells you which conditions and regions are worth building for.
A few things to watch out for
Healthcare advertising has its own compliance rules. If your bot collects any health information from patients, you are touching HIPAA-adjacent territory in the US. Most patient recruitment work stays just below the HIPAA line because the bot is collecting pre-screening eligibility data, not records-level PHI, but the line is fuzzy. Get your sponsor client to confirm in writing what their compliance team has approved before you launch.
The other watch item is trial freshness. Trials open and close constantly, recruitment caps fill up, and sites pause enrollment. A bot that recommends a trial that closed last month damages the patient’s trust and the sponsor’s brand at the same time. Whatever data source feeds the bot needs to refresh at least daily, which is one reason live directories like Hipa.ai or direct clinicaltrials.gov sync are usually a better choice than a hand-curated list.
Worth building?
Patient recruitment is not a flashy use case. It does not produce the demo videos that go viral on chatbot Twitter. But the demand is real, the budgets are real, and the alternatives the industry currently uses (paper mail, recruitment ads on Facebook, calls from CRO call centers) leave a lot of room for a well-built conversational layer.
If you have a healthcare client who has any connection to a research hospital, an academic medical center, or a pharmaceutical sponsor, this is worth a conversation. The use case is small enough to build a working prototype in a couple of weeks, and the upside is meaningful. A single-placed bot for a sponsor running multiple Phase 3 trials can be worth more than a year of small-clinic appointment-booking work.